Tuesday, November 25, 2014

Getting creative on Lord Howe Island

I've just returned from a blissful week on Lord Howe Island, off the NSW Coast of Australia.

Lord Howe Island is a small volcanic island, dominated by two mountains, and rich with bird life and tropical plants.  Mobile phones don't work on the island and there's very limited internet access, so as well as being a beautiful place to be, its also a rare opportunity to step away from electronic gadgetry and take a breath of fresh air.

And of course, being the eager artist, I packed my 2kg of art supplies, no mean feat given our check-in luggage was limited to 14 kgs (and my empty bag weighed 4kgs).

For this trip I completed a travel journal, opting for a blank book that I had already made.  

Other items in my art kit:
- small gelli plate (3"x5")
- 3 tubes of paint (blue, black, brown)
- rubber roller
- watercolour travel set & brush
- washi tape, brads, sewing thread & needle
- pens and pencils
- awl, small scissors
- glue stick & glue tape
- various small pieces of paper to print on
- small plastic bags for plant 'samples'.

All of this was packed into a clear plastic clip box that I bought from Officeworks, and fit snugly into the bottom of my suitcase.

On our hikes and daily outings, I gathered small plant samples.  I didn't have access to a microwave oven so I couldn't dry my samples to take home, but opted for printing to record them.

Some of the prints were done on postcard blanks, which I wrote on and posted home.  These will go into my travel journal when they arrive.

Each afternoon, I wrote of the day's events in my travel journal.  I also wrote of list of birds and plants observed, using small guides I bought at the museum to help with identification.  And a favourite of mine is to write a 'Likes' and 'Dislikes' list of my trip, a summary of the more 'memorable' parts of the trip.

During the trip, I collected brochures, maps, postcards, and cards. These all have been attached into the journal using various means - glued, taped, or sewn.

After I get home, I print a selection of my favourite photos to put into the journal, printing them half size so I can fit more in.

And I always aim to have my journal finished within a week of returning from my holiday, otherwise it all gets forgotten in the return to daily routines.....!

The text, photos and other attachments together with my small 'on the spot' artworks provide a multi-faceted approach, leaving me with a lasting tactile memory to refer back to after the adventure has ended.


A view over the Eastern side of the Island


I'm writing some 'on the track' impressions
 on a hand printed postcard.
Not poetry, not sentences....just words,
that's all that's needed.

A Heart Urchin Shell, washed up.
It inspires so much, an object of beauty.
The live urchin is less exciting, the lovely design
hidden beneath small furry spines.

The lines and colours of the Kentia Palm trunks
make an interesting visual arrangement.

The intense aqua blue of the ocean will keep inspiring
artworks when I'm in my studio.

Selfie - printing in the kitchen area of our accommodation.
There's nothing more liberating than having a limited
range of art materials to work with.

Gelli plate printing in progress

Gelli Plate prints of local plants,
printed onto postcard blanks, japanese papers and tags

Ghost prints on Japanese papers -
these ones will go in my travel journal.
An alternative to putting the actual plant material
into my journal.  Much more fun!


Monday, November 3, 2014

Eco Dyeing on Paper Workshop

I'm running an eco-dyeing on paper workshop at Mt Tamborine on 29 November - and there's only a few places left to fill.

We're going to be folding paper then dyeing it 'shibori' style using a natural brew of eucalyptus leaves and fruits and vegetables (yum!) to achieve beautiful reds, oranges, greens, purples and blues.  And by using bundling techniques, we achieve detailed prints of leaves, plant material and other objects onto the paper.

Its a fun creative day, no drawing or art experience necessary.  Just a willingness to put your witches hat on and cackle with the rest of us over a hot brew......

The workshop is being organised by Bec, who has a gorgeous art studio in her backyard (lucky girl!). If you're interested in booking in, call her on 0438 147 352.

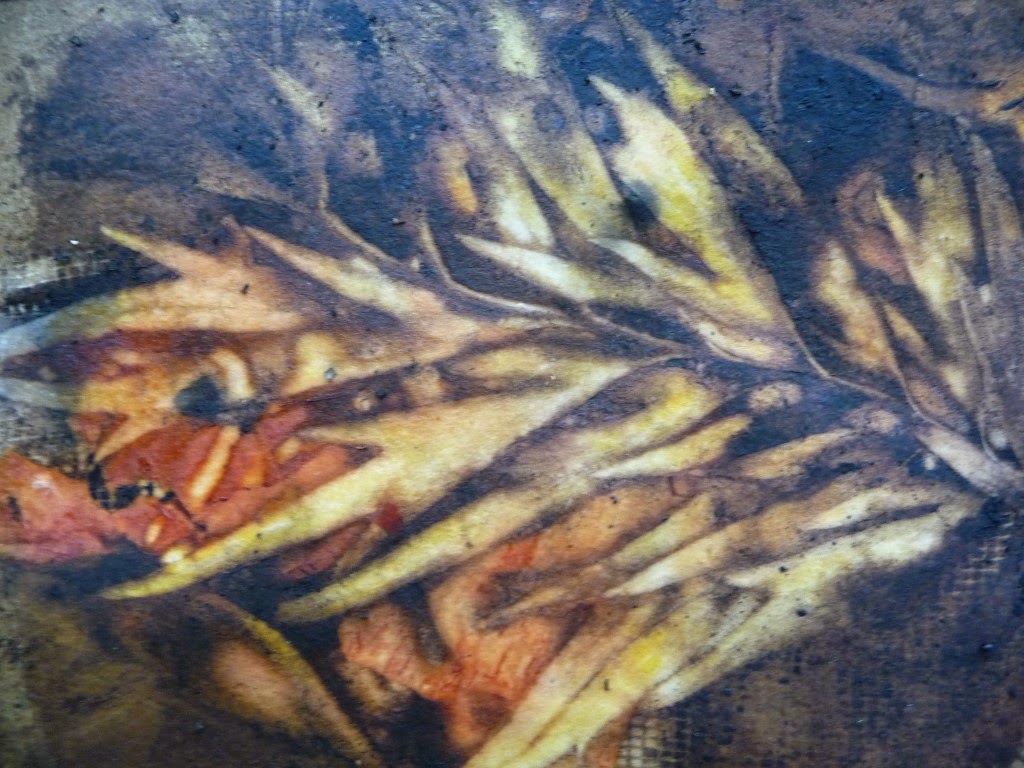
Her flyer for the workshop is below, as well as a few photos of my delicious eco-dyed papers.


Thursday, October 23, 2014

Using a MicroFleur Microwave Press

I've owned a MicroFleur Microwave Press (www.microfleur.com) for some time, but hadn't really used it until recently.  I usually press my leaves using phone books and plenty of time, but thanks to Robyn (at my Kenilworth workshop) I've become aware of the advantages of pressing leaves when on site, rather than transporting phone books (heavy and bulky).  I prefer to monoprint with pressed leaves (not necessarily bone dry) as they are easier to handle and don't  leak plant juices.

To use the MicroFleur system you need a microwave, so that rules out camping and some hotel rooms, but is good for cabins and self-contained accommodation.

I took my MicroFleur press on a recent trip to Margaret River in Western Australia - a great opportunity as its currently wildflower season, so there were lots of plants in flower.

But my greatest find was the Bull Banksia - my new favourite banskia!  It has an unusual leave shape - very dramatic.  I used my MicroFleur press to remove the moisture from the leaf and flatten it, then stored it in a plastic folder to transport home.  I've now got a folder full of interesting leaves and plants for future printing sessions.

Out riding on the Munda Biddi Trail, with a Bull Banksia

A Native Wisteria, beautiful!

On a rail trail between Margaret River and Cowaramup

One of the locals wasn't happy about disturbing him
on the track!

Bull Banksia

Bull Banksia

MicroFleur Microwave Press

Inside the press, felts and cotton sheets.
Note the burn marks - I got a bit overzealous and left
it in the microwave too long a few times!

My folder with the pressed plants, to take home

Pressed Bull Banksia leaves

A gelli plate print, using the Bull Banksia,
more prints below.


Saturday, October 4, 2014

Monoprinting at Kenilworth

This week I spent 4 days in rural Kenilworth on the Sunshine Coast hinterland running a monoprinting workshop, using both my etching press 'Thumper' and gelli plates to create images.

I had a small class of 4 students - Kylie, Robyn, Denise and Wendy, plus Morag for one day of gelli plate printing.

The resulting prints were spectacular and varied, showing off the individual art talents and styles.

Its always great to have several days in a workshop to help everyone to embrace the new techniques and different ways of creating images, and this really showed in the prints the girls created.  Well done!

Denise's Banksias.
She used a lot of objects in this print,
 but the repetition of the banksia shape
 and the horizontal and vertical lines make it all work together
in a vibrant and energetic image.

Denise at the press with her plate and a print


Kylie's Fern print - beautiful lines and colours.
The detail of the middle fern is 3-dimensional and
together with the rich colours,
it gives the print its WOW factor.

Kylie at the press working on her Magpie series,
lots of work to construct but worth it in the end

Robyn's delicate print,
Subtle colours and repetition of
line and shape, with the zing of the red
ginkgo leaf popping out from behind.

Robyn's fern print on music paper,
created via a gelli plate.  This one was created by
printing the fern onto the plate then onto the paper.
Also lots of washes and delicate background colours to
set the main image off without overpowering it.

Robyn at the press, with her print and plate

Wendy's gelli plate fern print - lots of
layers and interesting marks.  The white fern is a ghost print,
very carefully orchestrated to provide a focal point
 on a busy background.

Wendy's print - I call this 'Steam Punk',
a very industrial but earthy print.
It works well with a variety of shapes, textures and lines.

Wendy at the press with one of her final prints -
gorgeous colours and textures.
Her 'graduation' print I think!

"Legs up!" for the group shot after 4 days of printing,
showing off their favourite prints.
I managed to do a couple of prints as well just for fun.

Thursday, September 18, 2014

Making Stencils for Monoprinting

I use paper stencils extensively when I do my monoprinting.  The stencils allow me to create representational imagery that creates focal points and brings the compositions to life.  I mostly use bird stencils and am constantly on the lookout for new imagery that I can use.  And when I make a stencil for a print, I usually cut at least 10 of the image in different sizes and papers to give me plenty of choices when printing.  I also use repetition of imagery to tie the composition together and make it more dynamic.

In the past I've cut stencils by hand, using scissors and a stanley knife.  Its hard work (though enjoyable) but I'm not very good at accuracy to get realistic details like feathers and toes on my bird stencils.

And so I've invested in a new art toy to help me with my stencils.  Its a 'Scan and Cut' machine, which does exactly that - scans in my image then cuts it out.  Absolutely brilliant!  I can create multiples in different sizes of birds, all cut with beautiful detail.

There's lots of possibilities with my new machine and it certainly makes fabulous stencils that will greatly enhance my monoprints.  I'll post some photos of the stencils in use soon!

The Scan and Cut machine in action.

One of my silhouettes of birds I used as a template.
This is what I scanned into the machine.

After the machine has cut the stencils, I lift
off the paper.  Some of the stencils remain
stuck on the low-tack surface, they
come off easily.
The resulting stencils, cut by the machine,
in different sizes and papers.
The added bonus is the negative shapes left after cutting,
I can use these too for my monoprints,
so nothing is wasted.

Sunday, August 31, 2014

Finding Inspiration by Bike


During the past couple of years, I've developed an interest in Mountain Bike Orienteering.  Although I'm no athlete, I enjoy getting outdoors on my bike navigating my way along gravel roads and dirt tracks in the forest.

Most of the events are held in pine plantations, so the landscape can get pretty bland - pine trees with lantana and other 'weeds' and grasses.  But there are pockets of native bushland, usually retained near creeks and swamps.  These areas are my favourite, leading to some mid-race distraction!

Luckily I have a map, and I can navigate my way back to spots that interest me after I've finished my race.

Today we visited Beerburrum, north of Brisbane.  Its a very sandy, coastal landscape, very flat so its easy to ride.

I found a lovely spot with beautiful ferns, and of course my very handy plastic bag enabled me to collect some samples for future monoprinting projects.  Watch this space!

The pine forest at Beerburrum - its so quiet,
you can hear the wind whispering through the
needle-like branchlets on the trees.
It has a very artificial feel to it even
though its filled with bird song.

A 'selfie' - behind me are the formal rows of
the pine plantation

A pocket of remnant native bushland along a creek -
a beautiful natural forest of ferns

A close up of the ferns

One of my favourites - pouched coral fern

This is one of the controls for the orienteering event -
that's how I found this beautiful spot.
I had to navigate to it using a map.

Here's me with Craig's mountain bike after the event.
You can see the map board holder on the handle bars -
its flat surface is ideal for stashing plant material!

Wednesday, August 20, 2014

Monoprinting Workshop at Kenilworth

Kenilworth Celebrates!

Art workshops and other events

28 September to 11 October 2014

Kenilworth Celebrates! is a major festival held annually in Kenilworth, a small town in the Upper Mary Valley on the Sunshine Coast Hinterland about 2 hours drive from central Brisbane.
The Festival starts with an orchestral concert on 28 September (booking required), followed by painting workshops with professional tutors from 29 September to 3 October (bookings required). The Town celebrates with music, poets' breakfast and street entertainment on the weekend of 4/5 October and free art exhibitions run from 4th to the 11th October.

I'm running a 4 day workshop from Monday 29 September to Thursday 2 October.
We will be exploring the printmaking technique of monoprinting using plants, stencils and other found materials to create one-of-a kind and often unexpected images. We'll be printing with my etching press 'Thumper', but also devoting time to printing using homemade gelatine plates. The workshop will cover ghost printing and how to develop layers and complex colour relationships in your prints. The four days of the workshop will allow you to extend yourself creatively and fully resolve prints using your own imagery.

For more information about the workshop, bookings and the festival:
http://www.kenilworthcelebrates.org.au/ or email me sandy_p09@hotmail.com.

If you're interested in the workshop, please make your booking prior to the end of August, so they can assess whether the workshop has sufficient numbers to go ahead.