Friday, April 12, 2013

Papermaking on a grand scale

Last Saturday I travelled north of Gympie to Dion Channer's PaperMill and Studio to start work on some large paper works for my upcoming exhibition at the Caboolture Hub in October (with Pattie Murray).

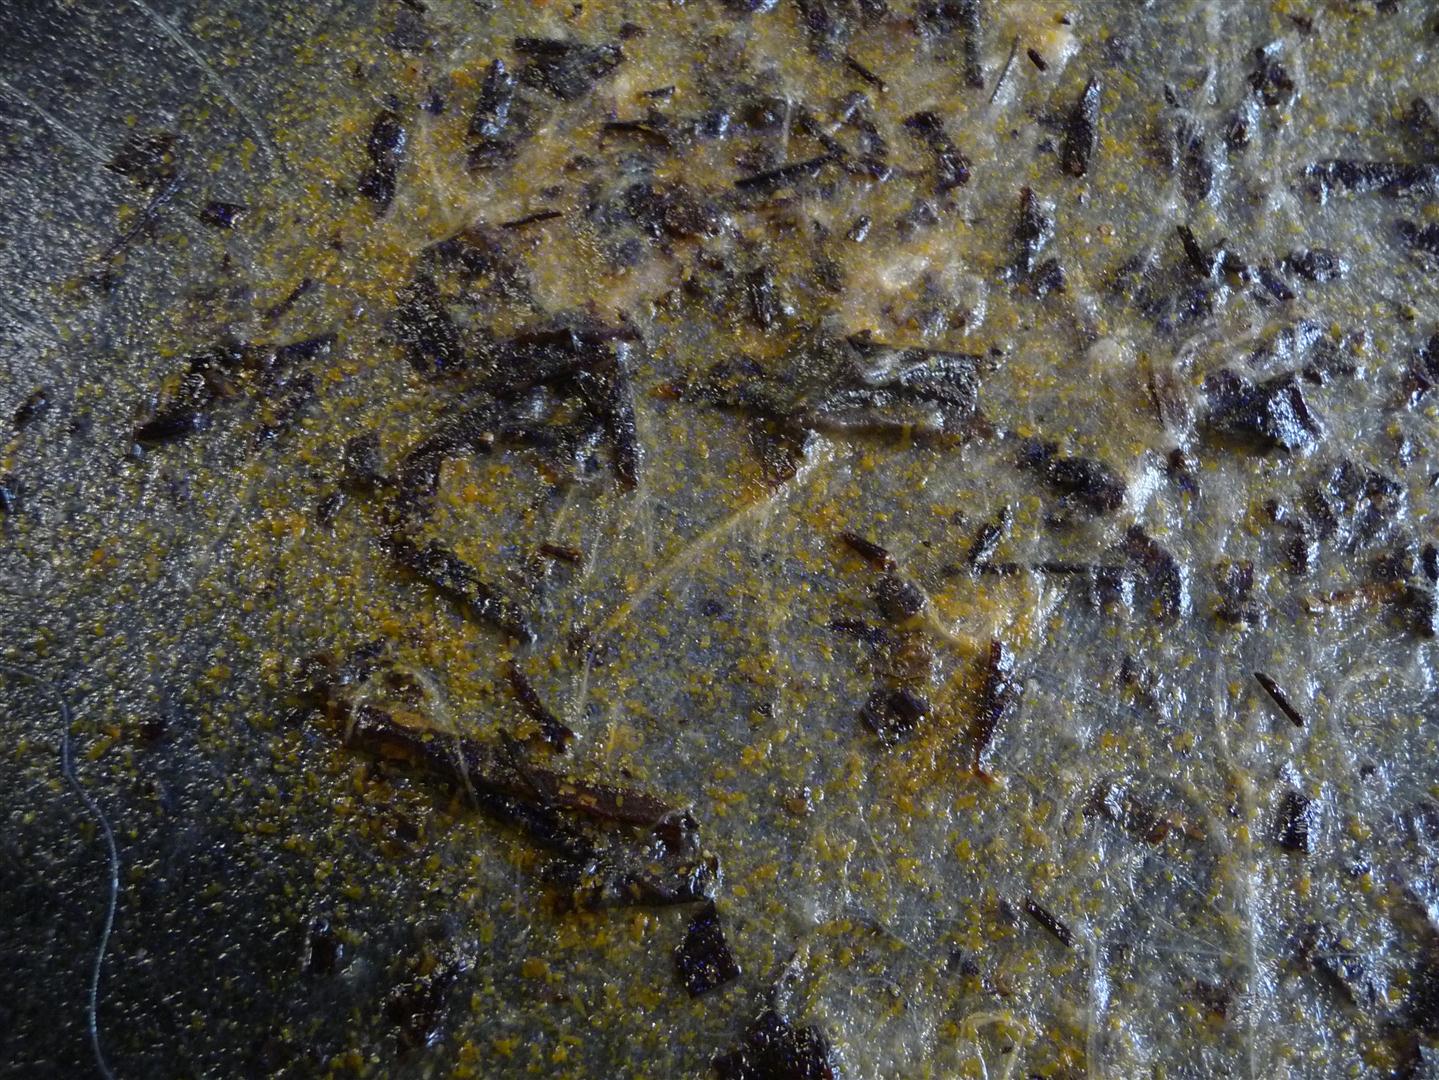
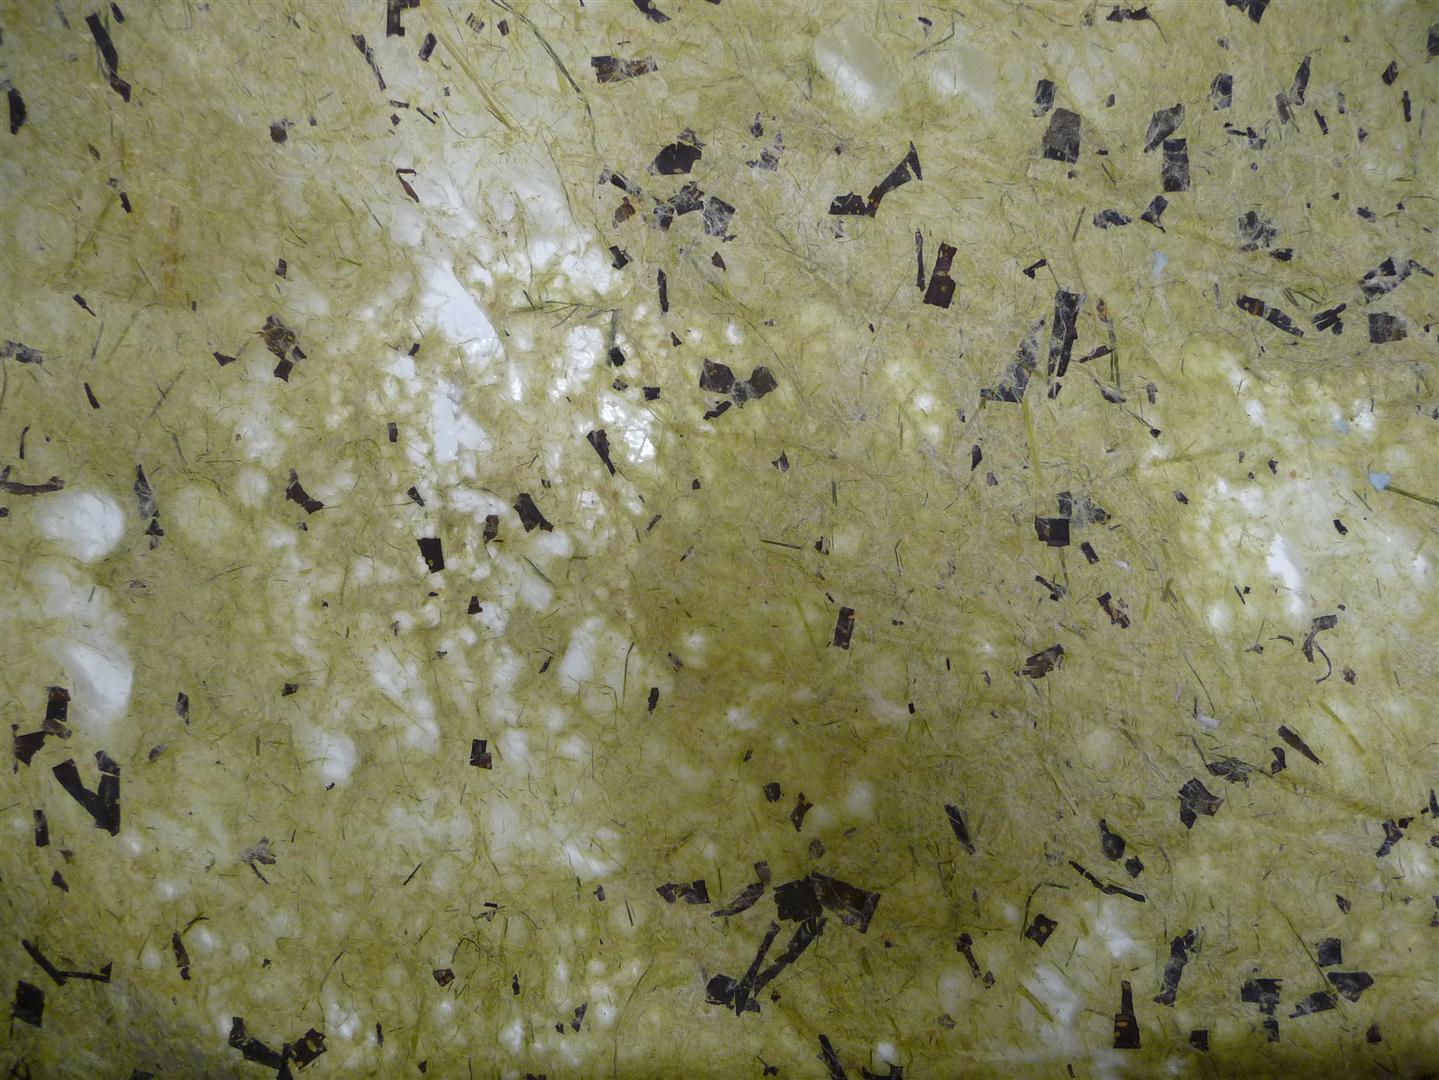
Dion has a vacuum table which can allow the creation of sheets of paper approx 2m x 1m.  To create the sheets, botanical pulp is thrown/poured/flicked onto the table which is covered by a couching cloth.  The water is then extracted from the pulp using a pump - this is the vacuum.  The couching cloth with the pulp attached is then hung up to dry, and the paper is finally released carefully from the couching cloth to reveal the finished sheet of paper.

Dion had prepared some mulberry pulp from me.  He has imported a substantial quantity of mulberry bark from Italy, and processes it into inner bark (white) and outer bark (brown).  The mulberry makes a beautiful and strong paper, so I was keen to use it for my works.  I also brought along some lemon grass fibre that I had prepared at home during the week.

The theme for the exhibition is 'Passage' referring to the tidal zones of Moreton Bay, and I wanted to create large sheets of paper that reflected my memories of standing in knee-deep water, looking down at the ripples in the mud with the sparkling reflections of the sun dancing across the surface.

I'm extremely grateful to Dion for his generous advice and wealth of experience, especially when it came to thinking about practicalities of 'how are you going to hang this'.  Of course I would have left that to last, but I learnt there are ingenious ways to incorporate hanging systems within the paper as its being made.

It was a very enjoyable but long day, I finally packed up after dark and headed back to Gympie with my very soggy rolls of paper.   Now that the paper is dry and removed from the couching cloths, I can see the results of my papermaking and I'm excited about the possibilities. I'm planning to find a gallery where I can roll out my paper and see what it looks like under gallery lighting and in a big space. 

Lemon Grass Pulp ready to use.

Pulp on the couching cloth

I'm pouring pulp onto the couching cloth on the
vacuum table.  Extreme concentration!

A sheet ready to go, note the wave-like pattern
I have formed with the pulp.

 
Lemon Grass Sheet with mulberry outer bark

Mulberry sheet with threads, a very delicate and fragile paper,
will look great with the right lighting.
The thread is eco-dyed silk.

Friday, April 5, 2013

Eco-Dyeing on Holidays

Going on holidays to the Sunshine Coast with Mum?  Lets do some eco-dyeing!  Believe me, its an obvious choice to an enthusiastic artist who can't sit still when relaxing.   I was keen to try a few different dye baths, inspired by a book on natural dyes from the QSWFA library.

Things to think about before packing:
1.  Instruct Mum not to pack too much to allow lots of room in the car for my art stuff.
2.  Is there a lift?  The amount of art equipment I can take depends on whether I have to walk up 4 flights of stairs or not.
3.  Allow plenty of time between walks on the beach and drinking coffee to get art done. I've got my priorities right!
4.  Remember that there are plenty of charity shops, $2 shops and craft supply shops within an easy drive if I leave anything at home.
5.  I'm only going for 5 days, so I can't take every project that I'm currently working on....

Learnings from doing eco-dyeing on holidays:  ITS MESSY!  ITS SMELLY!  Probably wasn't a good idea....   Luckily for me I was able to clean it all up before we vacated the unit.

Anyway......

Firstly, eggplant peelings from my vege garden.  This wasn't successful - obviously I was missing something in my brew, needs more investigation.  Not to worry - I've still gots heaps of eggplant in the garden.

Tumeric and ammonia - didn't produce the expected results and the fumes were really strong.  Not a good idea indoors.

Then I tried red cabbage and copper sulphate.  This produced pleasing results, but the QSWFA book advised that this dye was very fugitive.  And I agree, it faded off as it dried.  However, I am still very pleased with the soft greys that it has produced.

I don't normally work with textiles, but Mum and I had bought some silk scarves using a gift voucher, and I also had some cotton garments I wanted to dye.  I also had a beautiful silk overdress made by my dressmaker Patricia Ingram-Johnson.

The photos below show some of my eco-dyeing results from both my holiday and continued dyeing efforts when I returned home.


The pots during the eco-dyeing process


Silk bundles pulled from the dye-baths,
beautiful objects in themselves.
I used pieces of driftwood and old wooden
salt and pepper shakers to wrap around.


Silk bundle in the process of being unwrapped. 
Can you feel the excitement and anticipation???


I held the silk up to the light before I unwrapped it.
The true beauty is yet to be revealed...


Silk scarves after dyeing.  The bright yellow colour is tumeric.


Detail from the silk scarf dyed by my mother-in-law, Jan.
Mum and I encouraged her to have a go, and I
think she'll be pleased with the result!


Silk overdress, front view.
The colours are perfect - grey/blues, purples, and
 orange leaf prints.


The back of the silk overdress - I concentrated the leaves
around the bottom edge of the dress.
You can also see the purple marks from where I rolled it
when bundling.


An eco-dyed book using Hahnemuhle printmaking paper.
I folded and tore the paper before dyeing
making gorgeous dyeing effects on the torn edges.

Wednesday, March 13, 2013

Seed Artist Book

Last year I completed a drawing of a montage of seed pods in my collection.   Over the Xmas holidays I converted this drawing into an etching plate using UV light and a solar plate.

The original print, using chine-colle
 
I was mucking around at a friend's studio last month and decided to print small parts of the print, as bleed prints on small pieces of printmaking paper.


The pieces printed

From these pieces I constructed an artists book.  My starting point was a red and black cardboard box I found at a charity shop.  I've got a thing about boxes at the moment.
I wanted the book to 'flow' out of the box, so I used a concertina format with black card, mulberry papers and some handmade paper (I think it was bladey grass paper that I made at Xmas time).  I had a japanese bone catch in my stash (I knew it would come in handy one day, lucky I knew where I had put it!).

The book is simply titled ' Seed'.   Enjoy!


Saturday, March 2, 2013

Outdoor Studio in the rain

rain, rain, rain.

We've had lots of it, but even so Craig and I still went beach camping last week at Inskip Point near Rainbow Beach, Queensland. 

And of course, I took half my art studio with me (well Craig seemed to think so!).

Between dodging showers of rain on the beach, I enjoyed the inspiration of being close to nature and did some printing sessions with my gelli-plate.

One of the main advantages of the gelli-plate is its go-anywhere flexibility.  It would be impossible to make and store a gelatin plate when camping with limited resources.

And the joys of camping under casuarinas and cotton trees...... there's plenty of leaves to print with, there's almost too much choice!

A studio with a view... not that I was looking
when I was enjoying my printing so much

How did I manage to keep my art to half the camping table and one box....???

Craig's art installation on the beach using found materials

Playing with mangrove flowers,
a small installation in the sand


Scrub turkeys patrolled the camp, watching for any
opportunities to grab the rubbish bag!
I gave them all names, I think I missed my chickens....


Dappled light on the Cotton Tree leaves,
it was like looking up at a 'starry' sky

The Cotton Tree leaves were well eaten, beautiful!

Some prints, for another book

Another print, using a negative-space technique

Monday, February 18, 2013

Playing with monoprints

In my studio last month I explored printing with some plants from my garden - a perennial silver bush (unable to be identified) and the flower heads from my Italian Parsley.

It wasn't a complex printing session, but just a relaxing exploration of a couple of plants I wanted to try before I did some garden trimming.

The flower heads were rather thick and juicy, so I first ran one through the press with butchers paper to get rid of some of the excess moisture.  I then printed with it - the first print is show below.  The green colour is actually from the plant not from ink, it still had plenty of liquid, staining the paper. 

The first print

The second print (the ghost print) captured the delicate structure of the flower head.  As the plant was so fresh, it fell apart as I removed it from the plate.  I had to use the tweezers to methodically pick off the individual soft seeds that stuck to the plate....a zen moment requiring much care and patience!

The second print

The third print was used as a base for another print, using a paper mask to highlight the flower head image, which was much fainter at this stage.
The third print

Wednesday, February 13, 2013

Encaustic Artist Book Explorations

These photos are some encaustic panels I've been working on.   The panels are plywood, with layers of monoprints and decorative papers, using encaustic wax, oil paints and shellac.  The image transfers are my drawings of ginkgo leaves.

I find the process is similar to monoprinting where I work intuitively and compose my work as I progress. Great fun!  Lots of danger (hot wax, heat gun), working quickly and problem solving to make them work.  And if I don't like it, I just melt it off with the heat gun...easy! 

I plan to join the panels together into a simple concertina book structure.  I made a couple of these books last year, and loved them, so I felt the need to explore the medium further using the ginkgo leaf as my inspiration.


Sunday, January 27, 2013

Spring Cleaning

There's no better time than today to clean my press.  We're currently experiencing the fallout from ex-cyclone Oswald, delivering gusty strong winds and horizontal rain.  So what better time than to give 'Thumper' my etching press his annual clean.


Firstly, I remove the surface rust on all the rollers and exposed metal surfaces with a creme cleanser and scourer, being careful to clean the 2 main rollers in the direction of the grain, that is around them rather than from side to side.
 
There's a few rust spots on the rollers I can't remove - its a bit disappointing, but I have to be realistic considering our humid weather, my aversion to regular maintenance, and Thumper's age - he's almost 5 years old!


After rinsing off the creme cleanser and drying with a towel, I wipe on a coating of liquid lanolin to protect against future rust.


And finally a drop or two of oil to assist lubrication.


Thumper is ready to go, lets start printing before the rain eases off and I have to rejoin the world!


Monday, January 14, 2013

Monoprinting Workshop

Magical Monotypes

1 day workshop 9am-4pm

9 March 2013
Brisbane
 
Join me and enjoy this free and expressive type of printmaking using plants, stencils, netting, string, lace and other materials to create one-of-a-kind and often unexpected images.

During the workshop I will be demonstrating the beauty of ghost prints as well as printing in layers and with rich colour.
 
I've got a large resource of objects to use in the printing process or you can bring along items you would like to try – for example, leaves/grass stems (non-juicy, partly dry). Unsuitable items are those that are bulky, fleshy or anything thicker than thin card or anything metal or sharp.

The prints will be created using my travelling etching press "Thumper" and archival quality printmaking papers and inks.

Please wear old clothes or an apron, and comfortable shoes. BYO lunch.

All materials provided, including paper and inks. A $10 material fee is payable on the day.

The workshop is being run by Queensland Spinners Weavers and Fibre Artists Inc.

Date: Saturday 9 March 2013
Location: Auchenflower, Brisbane
Cost: $60 members, $80 non-members.

For further information and bookings:
http://qldspinners.org.au/workshops-2/how-to-book-workshops/

Monday, December 31, 2012

Papermaking on the Deck

Its that time of year...Craig (my partner) has disappeared to Victoria for some bike events, I've got the house to myself........so I can safely set up my papermaking 'factory' on the deck without ruining our wonderful relationship....!

I recently collected some plant material from my brother's property at Gympie.  I wanted to try a few different plants in my papermaking, other than that collected from my own garden.

Plants used include:  Bromelaid leaves (dried and chopped up in a mulcher) - lovely dark chocolate, flecked paper but quite a bit of shrinkage so best incorporated with other fibres and recycled paper.
Lomandra, Bladey Grass, Citronella grass, Bracken Fern, Lemon Grass.

The electric cooker
 
Rinsing the cooked fibre

Beating/chopping the cooked fibre, with the
outdoor insinkerator.

Bracken Fern, after cooking for 4 hours.

Bracken Fern, after it has been put through the insinkerator.
Very fiberous, not much bulk. 
The resulting paper looked just like a tree fern trunk. 
Not practical paper but very interesting!


The vat, ready to pull the sheets using the mould & deckle.
I have sprinkled calendula stamens/petals and lavender
on top of the vat as decorative colour and texture when
the sheets are pulled.

My new 'toys', from Japan.  These assist me to adhere
the formed sheets of paper onto my board for drying.

Sheets of Citronella grass drying on the boards.
This paper is, well, very grassy!

Close up of the Citronella grass paper. 
Lots of texutre so I won't be using this one for printing on.....
Lovely to touch and admire though!

A sheet of dried Bladey Grass, this is my favourite.
Lovely golden colour with lots of texture (hard to see in the photo).
I think this is one I will use in some future exhibition pieces.